
Peercoin Ledger Live Tutorial
If you wish to store Peercoin on the Ledger Nano or Ledger Blue, this tutorial will guide you through using the Ledger Live program


If you wish to store Peercoin on the Ledger Nano or Ledger Blue, this tutorial will guide you through using the Ledger Live program
Open the Ledger Live program and enter your password to unlock the wallet. In order to store Peercoin, we first need to add the Peercoin wallet app to the Ledger device. Select Manager from the sidebar and make sure your device is connected, unlocked, and allows access when prompted by the Ledger Manager.

Once this is done, you will be presented with a variety of apps that can be added. Type in “Peercoin” to find the Peercoin app. Click the “Install” button and you will be asked to confirm this on your Ledger device. After a moment, the app will be done installing. Click “Okay” to proceed.


Once this is finished, the Peercoin app is now installed on your Ledger device. Now we need to add an actual wallet account which we can do by clicking “Portfolio” to return to our starting screen. Once you are on the main screen, click the “+” by the Accounts tab to add a new asset.

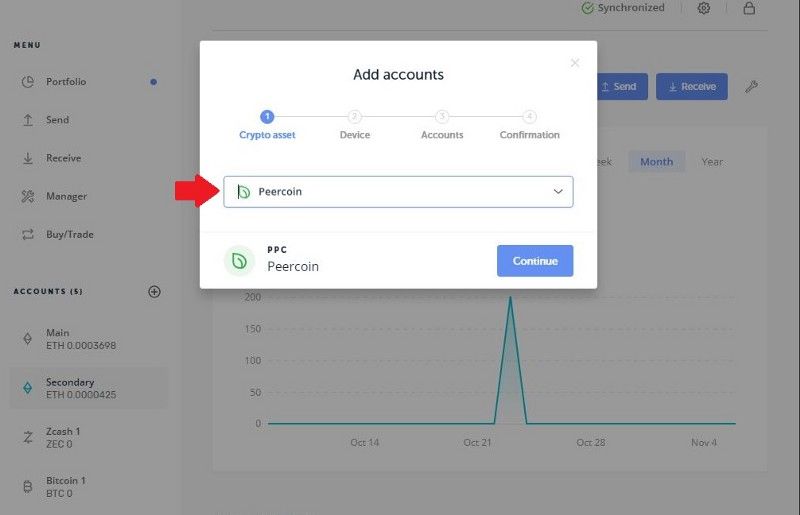
This will open the menu where you can search for the asset account you would like to add. Input “Peercoin” and click continue. You will have to unlock your Ledger again and navigate to the Peercoin app. To open it, press both buttons on the Ledger Nano device simultaneously. Once this is done, Ledger Live will sync and you will have the option to name the newly created account.

Click continue until everything is finalized and completed. You now have the Peercoin app, and the account added to your Ledger product and wallet.